We’ve all been there — that moment of panic when you can’t find an important note you’re sure you saved on your Mac. Whether it’s a list of tasks for the day, ideas for a new project, or important meeting details, losing these notes can cause a significant disruption. However, worry not. MacOS offers a few built-in methods to recover your notes. Let’s unravel this mystery together and explore a step-by-step guide on how to recover notes stored on your Mac.
Recover Notes Stored on Your Mac from Recently Deleted
The Notes app on Mac has a built-in safeguard called ‘Recently Deleted,’ where deleted notes are stored for 30 days before being permanently erased. Let’s see how you can recover notes from there:
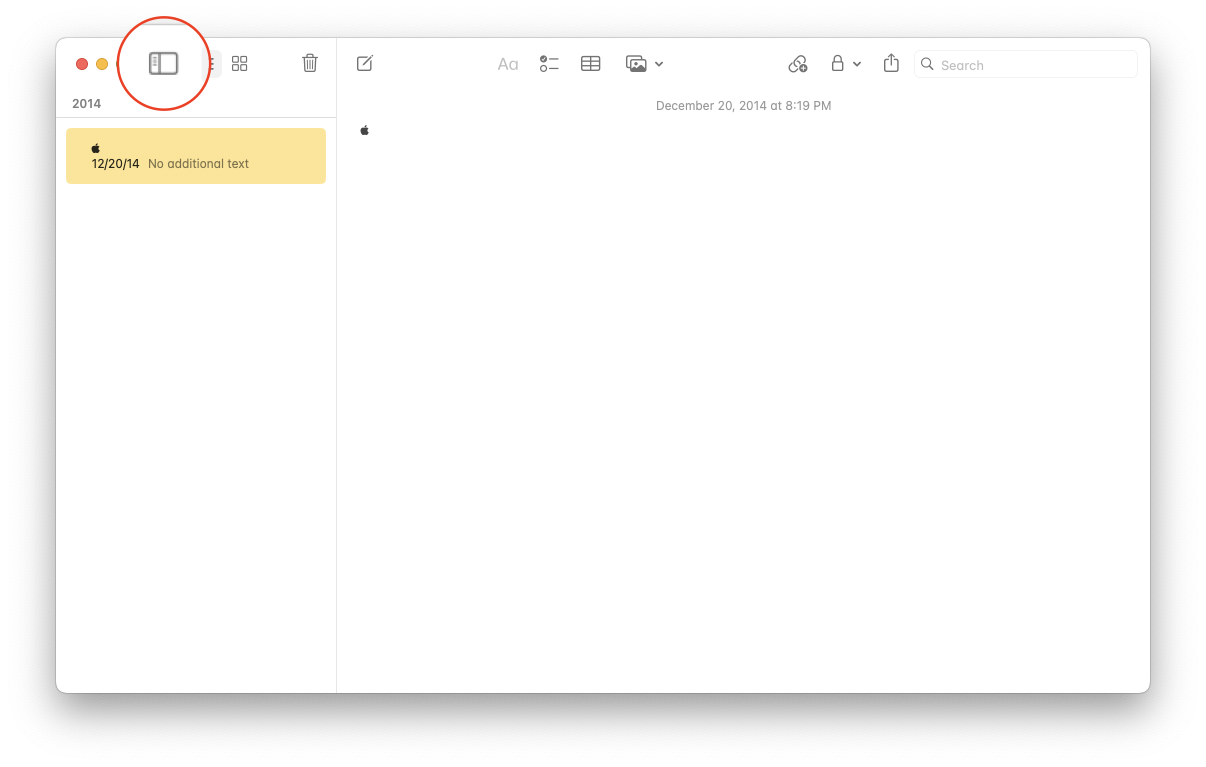
Open the Notes app on your Mac.
At the top of the app, click the Sidebar menu.
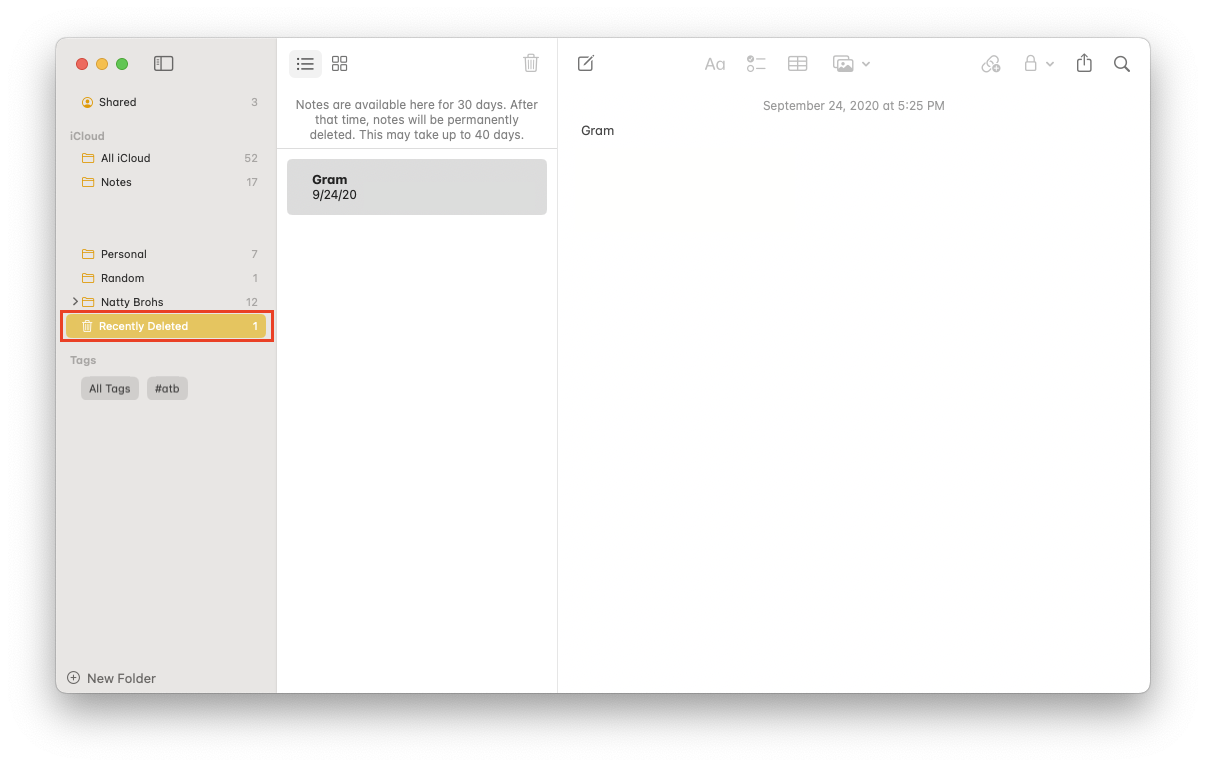
In the app, look to the left and find the Recently Deleted folder in the Folders list.
Click on the Recently Deleted folder to open it.
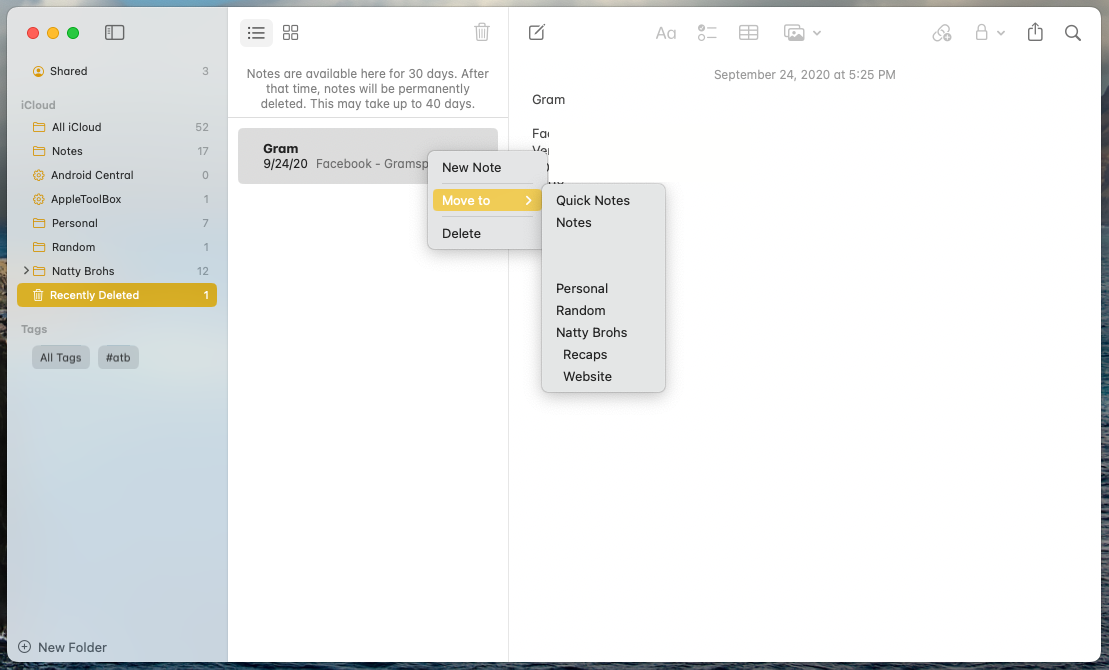
Look through the list to find the note you want to recover. If you find it, right-click on the note.
From the context menu that appears, select Move To.
You can then select the folder where you want the note to be restored.
If your note was recently deleted, this method should be sufficient. However, if the note isn’t there, don’t despair. There’s another method to try.
Recover Notes Stored on Your Mac from Time Machine
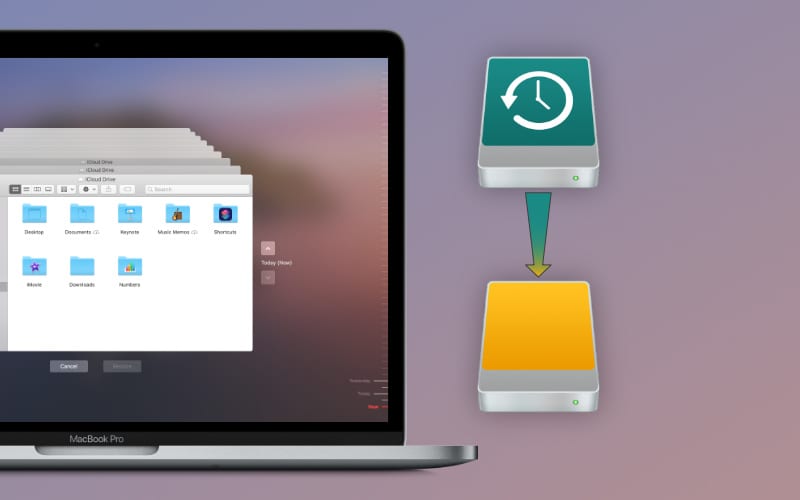
Time Machine is a built-in backup feature on your Mac, which can come to your rescue in situations like this. However, for this method to work, you must have previously set up Time Machine on your Mac and created backups. Here’s how to recover your notes using Time Machine:
Open the folder where your Time Machine backups are stored.
Look for a folder named “Backups.backupdb”. Open this folder.
Within this folder, you’ll find another folder named after your Mac. Open it.
Here, you’ll see several folders with dates on them, each representing a different backup. Open the folder that corresponds to the date before you lost your note.
Navigate to the subfolder: /Users/yourusername/Library/Containers/com.apple.Notes/Data/Library/Notes/.
Here, you’ll find several files that end with the .storedata file extension. These are your note backups. Open the file that corresponds to the date before you lost your note.
Look through the contents of the file to find your lost note.
Conclusion
Recovering lost notes can feel like a daunting task, but with the right guidance, it doesn’t have to be. Whether you’ve accidentally deleted a note or experienced data loss, your Mac offers a lifeline with the Recently Deleted folder and Time Machine backups. So, take a deep breath, follow these steps, and rescue your reminders. After all, in the world of digital note-taking, no note is ever truly lost.
Andrew is a freelance writer based on the East Coast of the US.
He has written for a variety of sites over the years, including iMore, Android Central, Phandroid, and a few others. Now, he spends his days working for an HVAC company, while moonlighting as a freelance writer at night.


Write a Comment